Game Boy Advance RGB LCD Project
by Kon Khanyants
Necessity, Beginnings, and Thoughts
In April of 2002, I had an idea to improve the screen size as well as brightness of Nintendo's Game Boy Advance portable entertainment console, since the console is almost unplayable in indoor lighting conditions. At the time Innovation Corp. had just released their GBA TV adapter which attached to the back of the GBA console and displayed a Game Boy Advance image on a standard television using the Composite or S-Video connections. Using the adapter on a 20" TV would scale the picture over 6 times the original 3" GBA screen, which would result in very ugly pixellation. I had suspected that the TV adapter would be able to output the high quality RGB signals used by computer displays and especially the Sony PSOne portable LCD monitor, but lacking the adapter and feeling the idea was flaky I abandoned the project. I had thought of using composite video signals to drive the LCD but the dotcrawl and various other image artifacts associated with compressing video onto one signal prevented me from developing that idea any further. About a month later I saw a bit of information being passed around on Atari Labs message boards at www.gamesx.com about tapping high quality RGB video from the GBA TV adapter. The reason that RGB is the best choice is because, the video signal is not greatly degraded when split into four distinct channels: red, green, blue, and composite synchronization. Using these newly found connections it now seemed possible to display the image on computer RGB monitors capable of horizontally synching to 15kHz. I immediately thought of the only LCD that I knew at the time that used RGB as inputs. It was the Sony PSOne portable LCD monitor. It's function was to be be attached to the Sony PSOne console and allow the user to play on the go(to a certain extent). Since my primary interest was computer graphics and the various applications of it, I had naturally thought of improving the display of Nintendo's portable console but wound up improving the sound as well. And so began my 3 weeks of exploration, plastic remolding, threading, soldering and anything else needed to complete my ultimate goal.
The Design
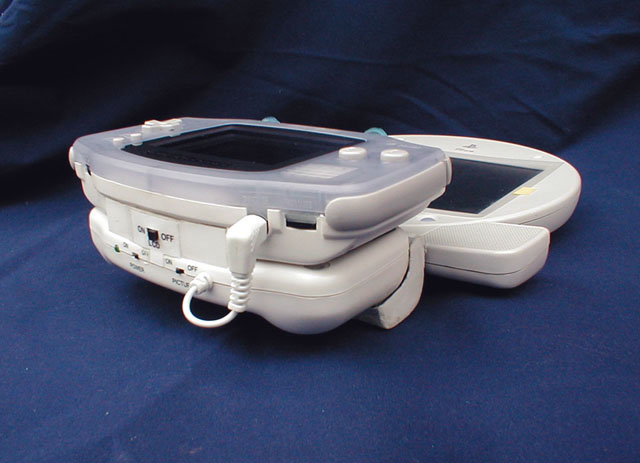
I first created a cable to test the display and using it I tested Rayman Advance on the then two separate pieces of equipment. The RGB connection worked and the image was blinding. Consulting with my grandfather who is a physicist by profession, I came up with several designs for the physical fusion of the GBA TV adapter and the Sony PSone LCD. It was either that the LCD was fixed on top or behind the TV adapter. However, aesthetically both designs left much to be desired. I then came up with a more complex solution that would involve moving one device into another. Using that notion I created designs for a metal back plate which would serve as a bridge between the two devices and decided what components of the original devices I would keep and what I would optimize and add. I kept four of the original connectors on the LCD, removing only the AV input connector port which would be used to get the video from the PSOne console. Instead of using two separate Power adapters for both devices, I decided to unify the power into one 9V supply which would plug into the LCD's 4.75mm DC power port. This power connection would also be used to power the GBA system via the TV adapter. There is no more space for batteries but I have created a battery pack which powers the MiracleRay for over two hours. Eventually, I remolded the plastic ears of the LCD and created a shape that would fit the adapter, since it would be the backbone of the two. Remolding was done by heating up X-Acto blades and my own metallic shapes and using them like a brush on the plastic. Later the remolded parts were filed and sanded. The original attachment method of the TV Adapter to the back of the Game Boy was out of the question because the lever located on the back of the adapter, which was used to release the plastic clamp had to be removed during the remolding process. Instead, the design called for an attachment method from the top of the GBA system where the GBA had attachment holes for various devices like lights and marnifying glasses. Blue clamps made from flip-flop shoes would extend from the MiracleRay unit to the GBA system where they were inserted into the holes. This provided a solid attachment, a snazzy blue transparent look, and the ability for easy removal from the adapter to exchange a game cartridge or play the GBA separate from the adapter. A switch to turn the LCD on and off was also added along with the RGB pass through feature with which it is possible to drive a computer monitor even when the LCD is turned off. The TV adapter retains it's ability to scale the outgoing image. On the MiracleRay LCD the unscaled image is roughly 1.15 times the size of the original GBA image. During that mode no scaling takes place and thus the image is almost identical to the GBA image. If scaling is enabled then the image is 1.5 times larger than the original and no detail is lost.
Extendibility
Originally, the device was only designed to use indoors but car use is also possible with a 9V 1000mA car power adapter. The ability to drive several displays and speakers as well as headphones remains a feature of the unit. A regular PSOne AV cable can be attached to the MiracleRay's AV port located on the back and be used to output S-Video, Composite video, and RGB video as a pass through feature even when the LCD is turned off. The LCD retains the ability to display video and audio from alternative sources using the camcorder connection for which I made a switch box cable.
Impressions
- The first impression is usually astonishment at the brightness of the colors on the LCD screen.
- People who play it against the same image on the television tend to choose the LCD image because of the increased brightness and more detail.
- Players prefer to have the scaling enabled on the adapter which results in a larger image on the screen.
- People who are critical of video games are drawn to this device like bees to honey. As anyone would because it is very addictive, especially if playing Sonic Advance or Rayman Advance.
- The sheer brilliance of the colors truly amaze.
- It is easy and comfortable to hold and doesn't obstruct from the use of the Right and Left shoulder buttons located on the GBA.
Battery
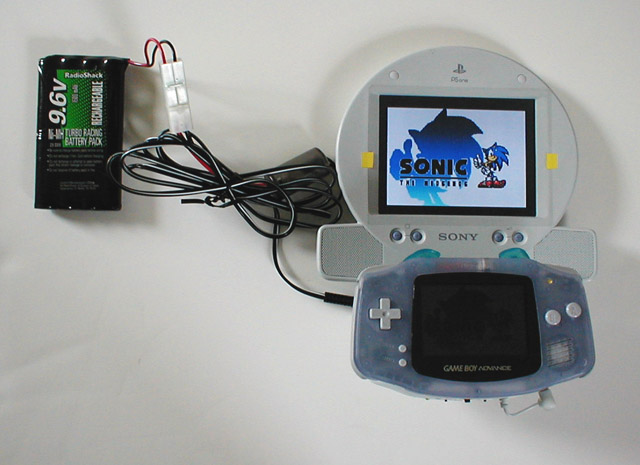
MiracleRay can now be powered for about two hours through the use of a battery pack, and a voltage converter. The battery is a 9.6Volt Ni-MH rechargeable battery with 1600 milli-ampere hours. I have tested this battery at the MacWorld conference on July 18, 2002 and besides working well, I must say that it drew a few crowds.
Notes: It is still a work in progress, so watch for more updates on this site. Also, this effort took over 4 weeks and was very difficult to complete. I am not, nor will I ever be interested in making another MiracleRay, and this one will remain a part of my artistic/engineering portfolio. If you are interested in making a device similar to MiracleRay then my schematics should aid you in your quest. The schematics for MiracleRay will be posted on this webpage soon.
Specs for the MiracleRay.
These pictures were taken just before the final steps of assembly of the project.
 |
 |
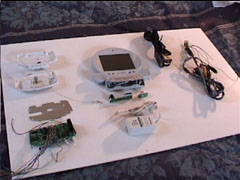
| All of the components including GBA TV Adapter, PSOne LCD unit, camcorder video cable for the LCD and the RGB Test cable used for preliminary testing of the LCD. |
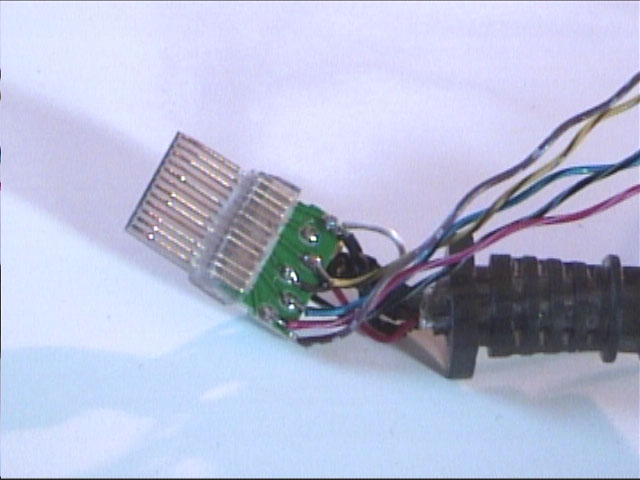
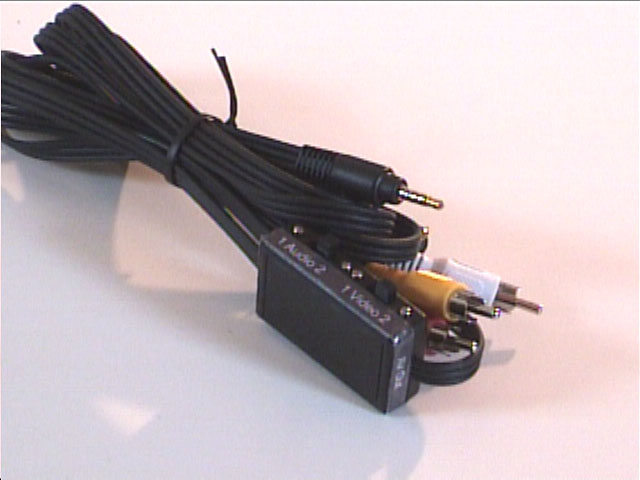
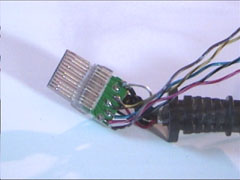
This is the RGB test cable for linking the GBA TV adapter to the LCD. It is a regular Interact AV S-video PlayStation 2 cable with RGB connections soldered onto the connector. |
 |
 |
| A close-up of the test cable connector which was shaved to be more like a female connector. |
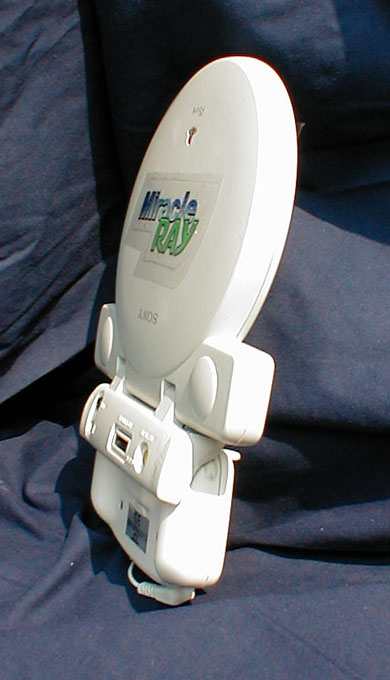
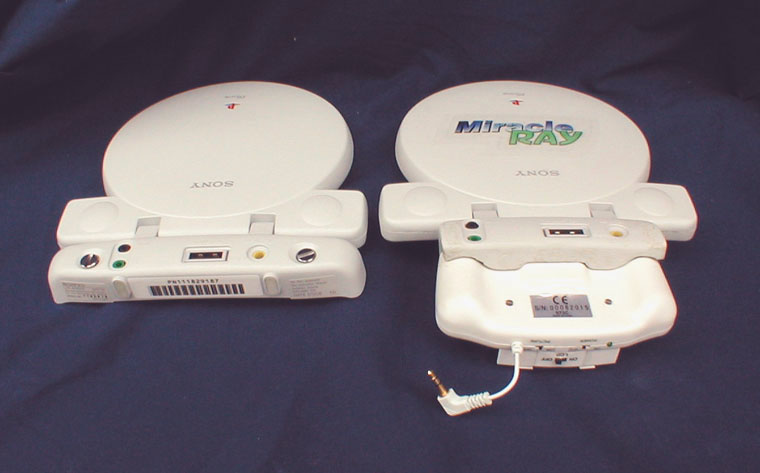
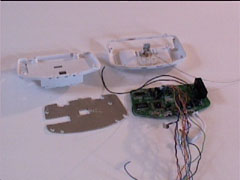
A modified Innovation GBA TV Advance adapter. The picture also shows the aluminum back plate for supporting and attaching the LCD to the adapter's back. |
 |
 |
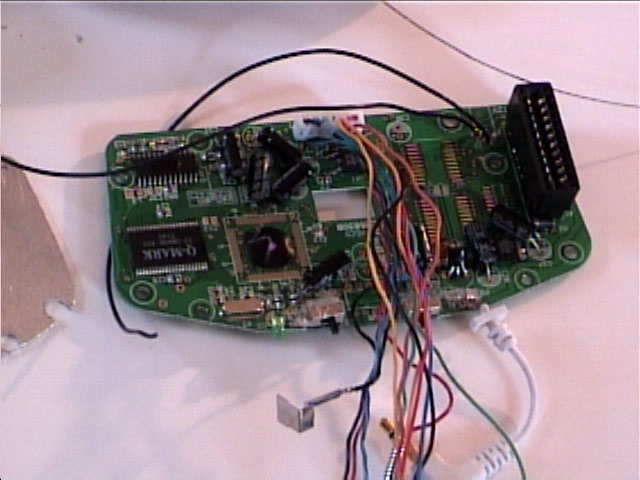
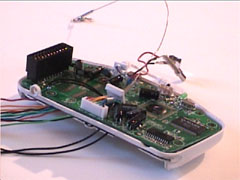
| A close-up of the Adapter PCB. All the wires have been soldered to their final locations. |
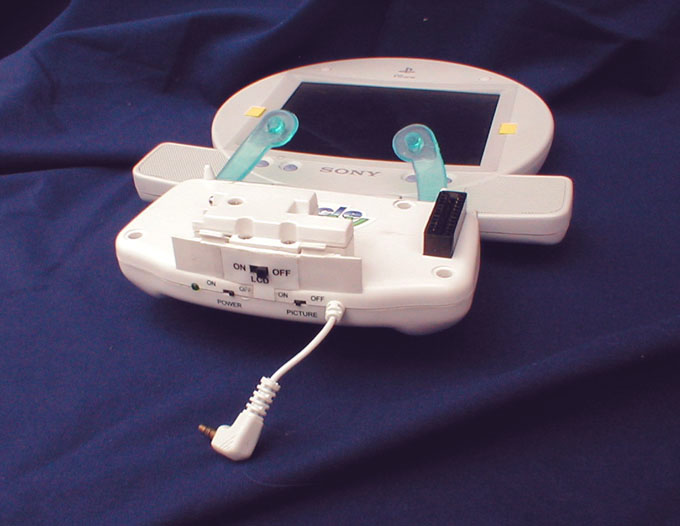
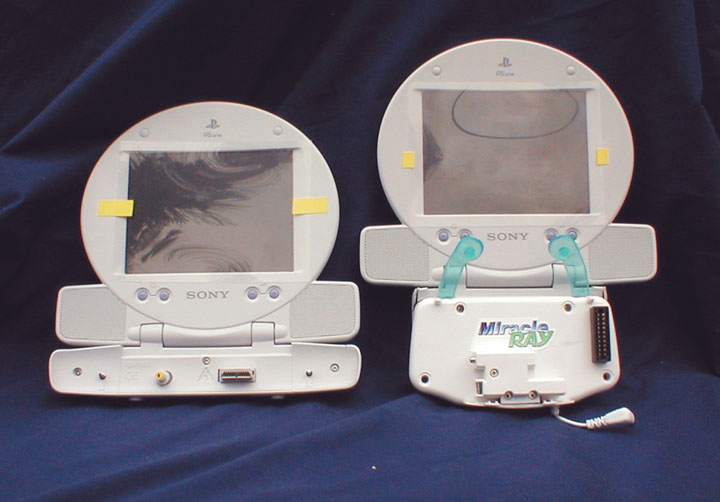
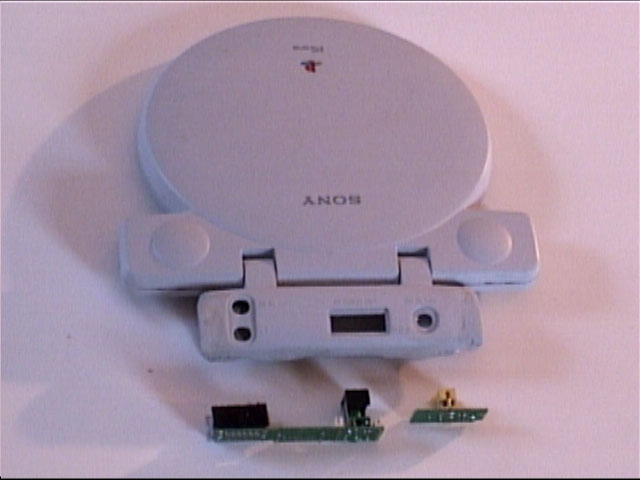
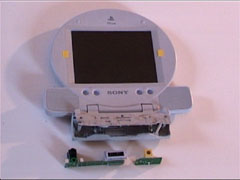
Front View of a modified PSOne LCD screen with the AV and Power connector pcbs. The front lower panel of the LCD has grooves to accommodate the solder side of the GBA TV adapter PCB. |
 |
 |
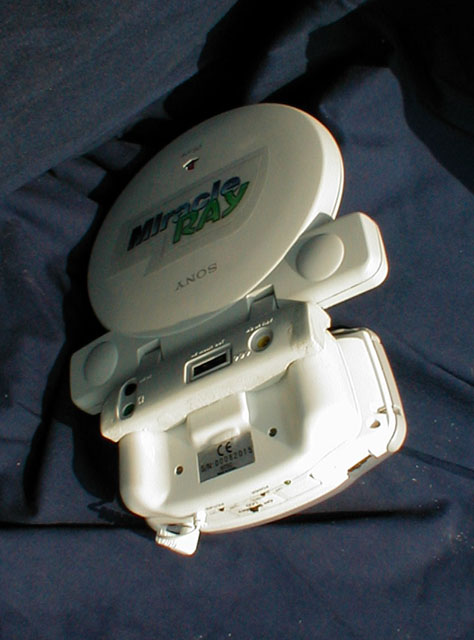
| Back view. Notice the remolded ears of the lower portion. |
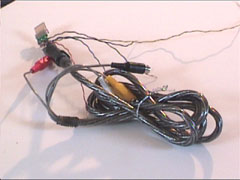
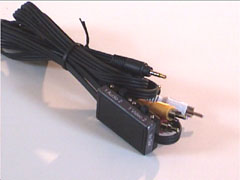
A video cable that I created to show composite and stereo audio output on the LCD from alternative sources like camcorders and vcr's. It can also function as an AV switch for switching between a camcorder 3.5mm connection and the RCA phono connection. It switches sound and video independently. |
| Final Assembly |
|
 |
|
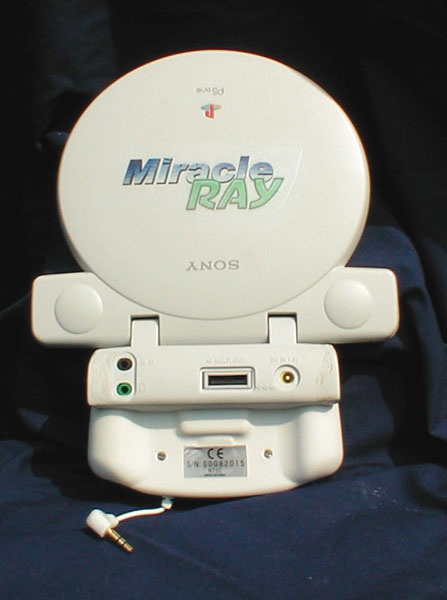
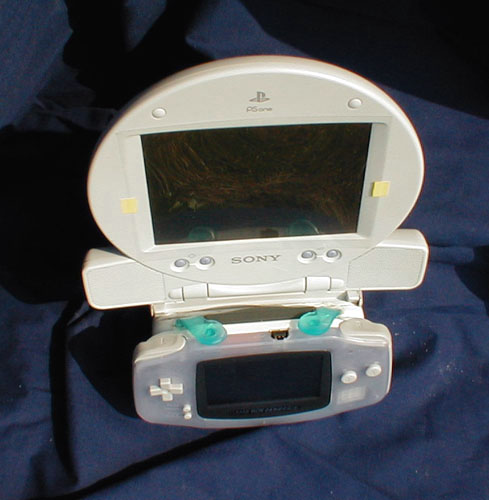
| This is a view of the GBA TV Advance now modified for fusion with the LCD. Hurray. The wires on top will be soldered onto their respective positions on the Sony LCD connector PCBs. |
|
| Result |
|
 |
 |
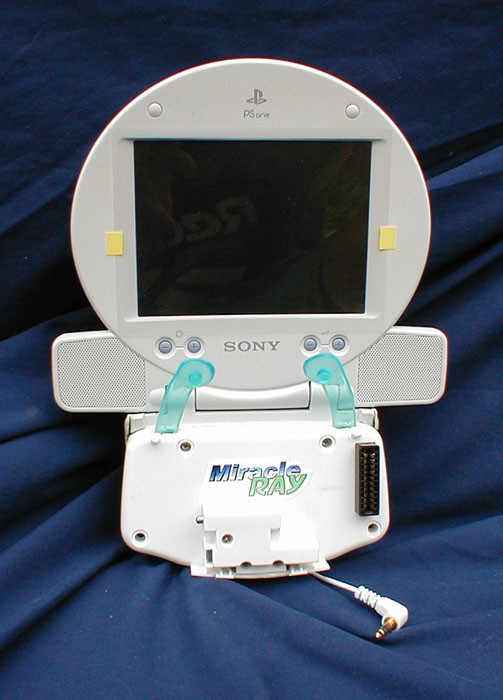
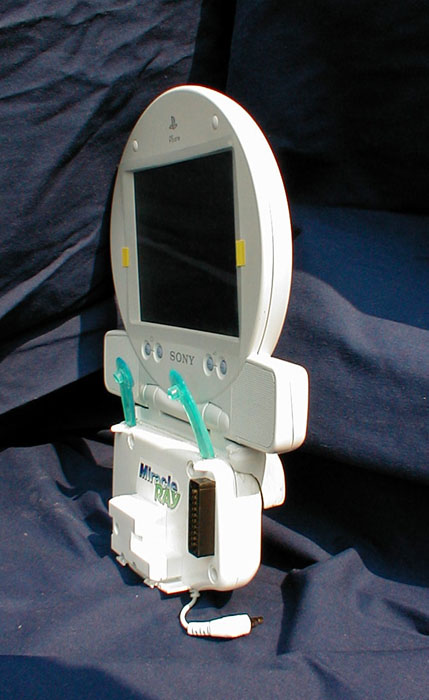
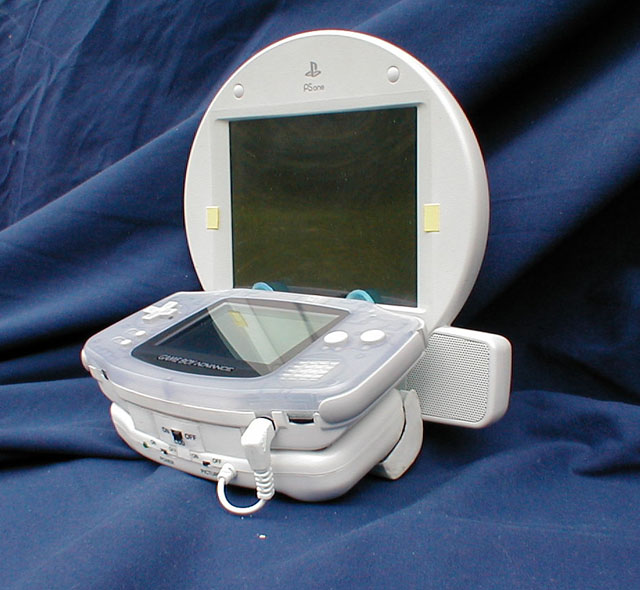
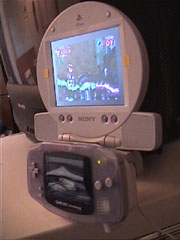
The preliminary test featuring Rayman. Fully assembled, but without the clamps which will be built soon. Also missing a few capacitors which makes it a little unstable since it uses one power supply. Once again they will be added later. As seen in the photo, the LCD is molded for the shape of the TV Adapter.
|
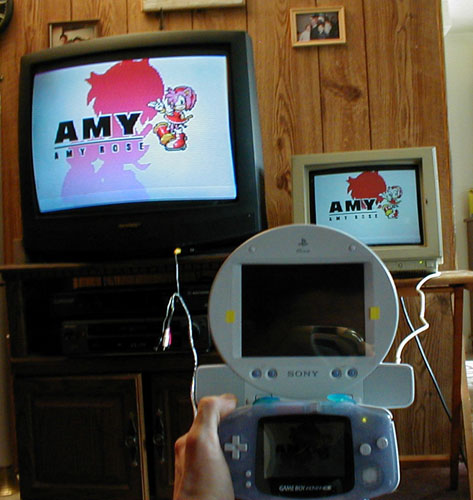
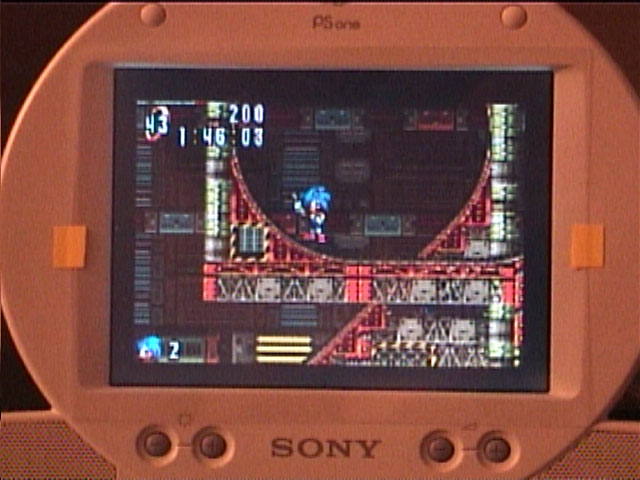
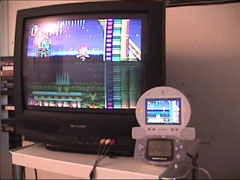
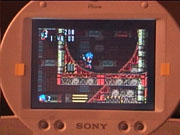
Running Sonic Advance on my Sharp TV and the MiracleRay simultaneously using the PSOne AV port on the back of the LCD and an Interact PS2 AV cable. Funny that my nephew prefers the LCD screen over the TV screen. Possibly because the LCD gives higher resolution and provides RGB level quality. The LCD screen is so bright and vibrant with colors that I had to turn down the Brighness level to take the pictures, otherwise the LCD screen looks white. |
| |
|
Gameplay photos
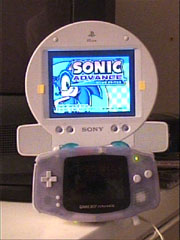 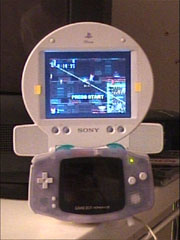 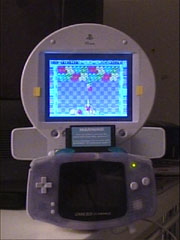 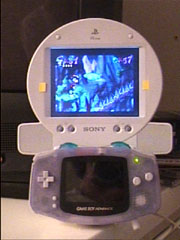 
These images speak for themselves. Once again brightness had to be turned all the way down so that the LCD wouldn't appear white in the captures. The pic in the middle is a perfect rendition of Bust-a-Move by Russ Prince. His version is a thousand times better than the official GBA game. Compare the top LCD images to the GBA screen on the bottom which looks like a black hole. Yes that bottom screen is turned on, no tricks here. The blue clamps have also been added recently.
The MiracleRay is not a commercial product, but rather my personal project. It is not affiliated or licensed by Nintendo, Sony, or Innovation Corporations. All respective copyrights and trademarks belong to whoever owns them.
|